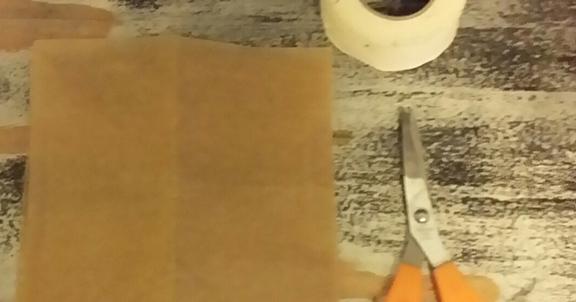
What you will need:

– Parchment paper or wax paper – approx. $1.25 a roll at the dollar store
– Tape: medical or strong clear tape
– A small water glass, mug or jar
– A pair of scissors
1. Cut a 4 Inch strip of tape and set aside
2. Cut a 3 Inch square out of the parchment paper.
 3. Place your finger over one corner of the paper and begin rolling the other edges into the shape of a paper cone. The width of your cone will determine the width of your suppository.
4. Place the tape sticky side up on the seam of the paper cone to seal it.
*BE SURE TO PLACE LOTS OF TAPE OVER THE POINTED END OF THE CONE SO THAT YOUR SUPPOSITORY MIXTURE WILL NOT RUN OUT OF ANY HOLE IN THE BOTTOM*
 5. Poke a long, narrow object like a pen or chopstick inside the cone to brace against the seam. Firmly set the seam.
6. Cut off any excess paper but leave at least an inch above the tape to twist closed.
7. Stand your mold up in the small cup with the pointed end down. When you have made the amount of molds you would like, pour your mix into each one and place the cup in the fridge or freezer.
 8. Wait 10-15 minutes for the mix to semi harden. Twist the remaining paper at the top for cleanliness and security.
Tip – You can also use your fingers to soften any edges or shape your suppository at this point.
These molds are very easy to make, affordable and all you have to do is unwrap your suppository and throw out the paper. The trickiest thing about them is getting a tape that will stick well to your paper so that the entire thing is sealed.
However, as long as you pour your mold when they are standing up in a cup, you will always be able to catch any runoff. A lot of people have major concerns ordering molds from online and often don’t try suppositories that can make a giant difference regarding their health. It is my pleasure to share this mold with you as I have made it often and know that it works – best of health, love, luck and happiness to you.


