Brent H.
Clone Corner
Whether we know it or not there are always tricks to even the most seemingly simple task. Potting up a clone into its permanent residence is also a process that when done right, will promote speedy growth. Here is the process as discovered by our team of dedicated enthusiasts.
Step One: Dipping in “Neem Oil.”
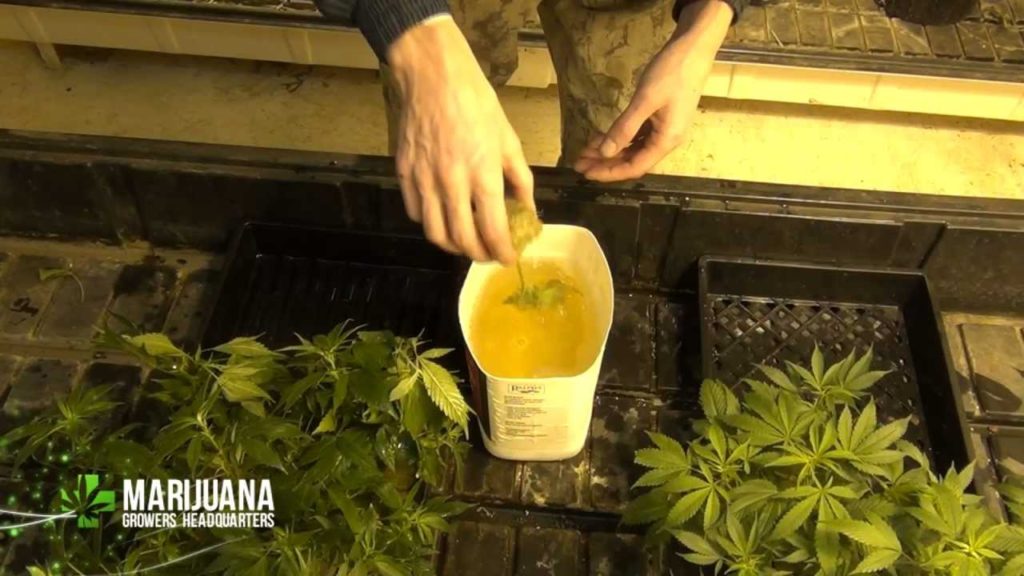 We recommend this step to eliminate pests that may be free loading and hitching a ride from one garden to a nice new garden where much damage is possible. This product is sold in most hydroponic stores, and whatever you hear about it, this is 100% natural, organic and as non-toxic or harmless as body soap. No mask is required (check with your health professional) when spraying this product and later on it can be used as a pest preventative maintenance technique in your garden (we spray every two weeks with this stuff to fight off new infestations). Dipping should take place prior to transplanting when the cut is still in plug form. To accomplish proper dipping, simply fill a 1-litre bucket with a cap (1 tbsp/15ml) and add several drops of dish detergent so the neem will stick to leaves instead of running off the leaf surface and onto the ground. Note: After dipping clones in neem oil it is a good idea to allow 1 – 2 hours before putting plants under bright lights or in the sun; the reason for this is that neem oil requires time to soak into leaves. If this time is not permitted to pass and the plants are under harsh lighting, the neem will begin to burn the leaves, leaving a rusty looking leaf that may become ugly and wither.
Step Two: Now that your little lovely beautiful babies have been neem oiled, it is time to use the potting medium (soil or hydroponic) of choice.
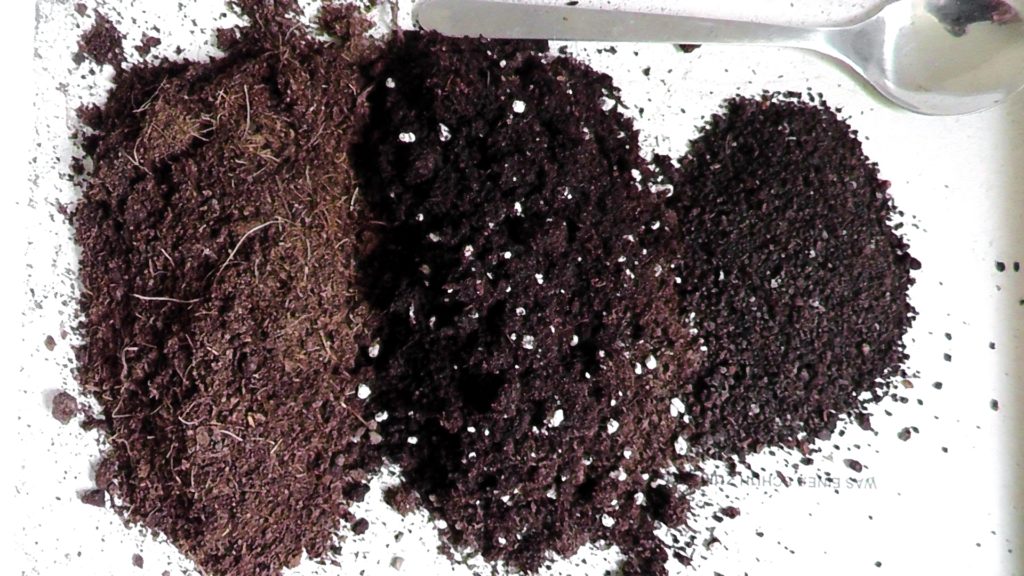 Deciding on what to use is a grower’s choice, although most use Promix HP, which is not really a soil so much as it is a medium of peat moss and a few add-ons that allow for quality drainage. Fertilizer-less soils have their drawbacks and advantages. The most obvious draw back is the need to mix in liquid nutrients such as General Hydroponics several times weekly. Rather than doing this, we recommend an organic all-in-one soil such as the “Power Plant Products” brand of premixed soil (Tel: 250.618.6042 for details). This is an all-in-one organic soil that requires zero liquid fertilizer saving time, energy and effort, yet providing great results. And on top of it, the quality, ability to handle stress, smell, flavour, and terpine results will be favourable to even the most talented of horticulture hobbyist. Hydroponic tables will not require step four.
Step Three: Placing or spacing out plants in your garden for best results.
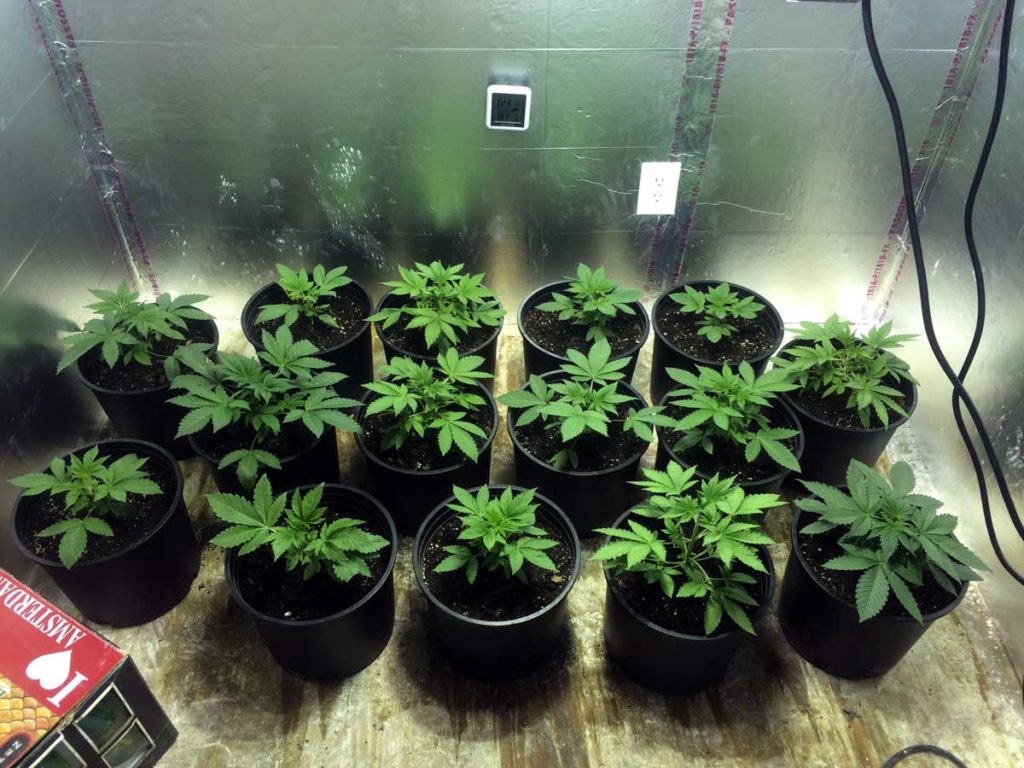 A sea of green is a wonderful thing. Using stadiums are great as well. However you are set up, the easiest tip is to not allow leaves of neighbouring pots to touch one another. Using this technique will assure that each plant is receiving sufficient light and not stretching from being over crowded. Another thought to this technique is that at first less space is required when plants are small and not even filling out the pot, therefore it is impossible for leaves of neighbouring plants to be touching. Less space could mean fewer bulbs and saving some electricity.
Step Four: Watering with the “Goldilocks” method. Not too much and not too little…
DO NOT over water, NEVER water too much, please give enough water to wet the top inch of a large pot, or very little in a small pot. This cannot be stressed enough, and is the most crucial point of this article. It is better to water a little each day than once a week. If the roots are over watered then they will not spread out and grow. A proper amount of root stress by a lack of water is necessary for the health and establishment of beginner plants.
Step Five: Staging from small to larger pots.
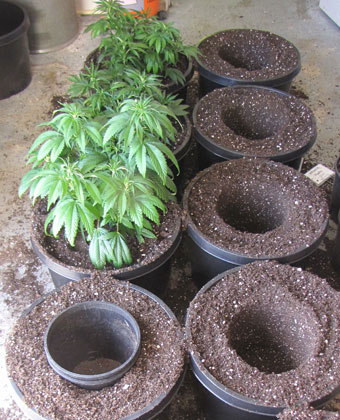 Plants do not need eyes to see what is around them or they would have evolved that way. We as humans need to understand that plants understand their environment, what is around them and how much of a specific thing they have to work with. And as for pacing, plants grow in proportion to the environmental elements they are able to use. The point to all this is that for some reason the rate of growth when going from little starter pots, then to one gallons, then into two gallons and so on, is faster than it would be if the grower just started with a two gallon pot.
Thus, for perpetual uninhibited growth, we recommend starting the plant in a small pot, and moving slowly into larger and larger pots. From a practical point of view, use a starter pot; then a 1-gallon pot; and finally your final size of plant pot.
In conclusion, here is one last tip. Do the little things you can do well and always err on the side of caution. Good soil, patience and attention are all that is needed. To sum up, less is best when it comes to watering, make sure pests are taken care of, and start small and allow these plants to grow into larger as pots as needed.

